
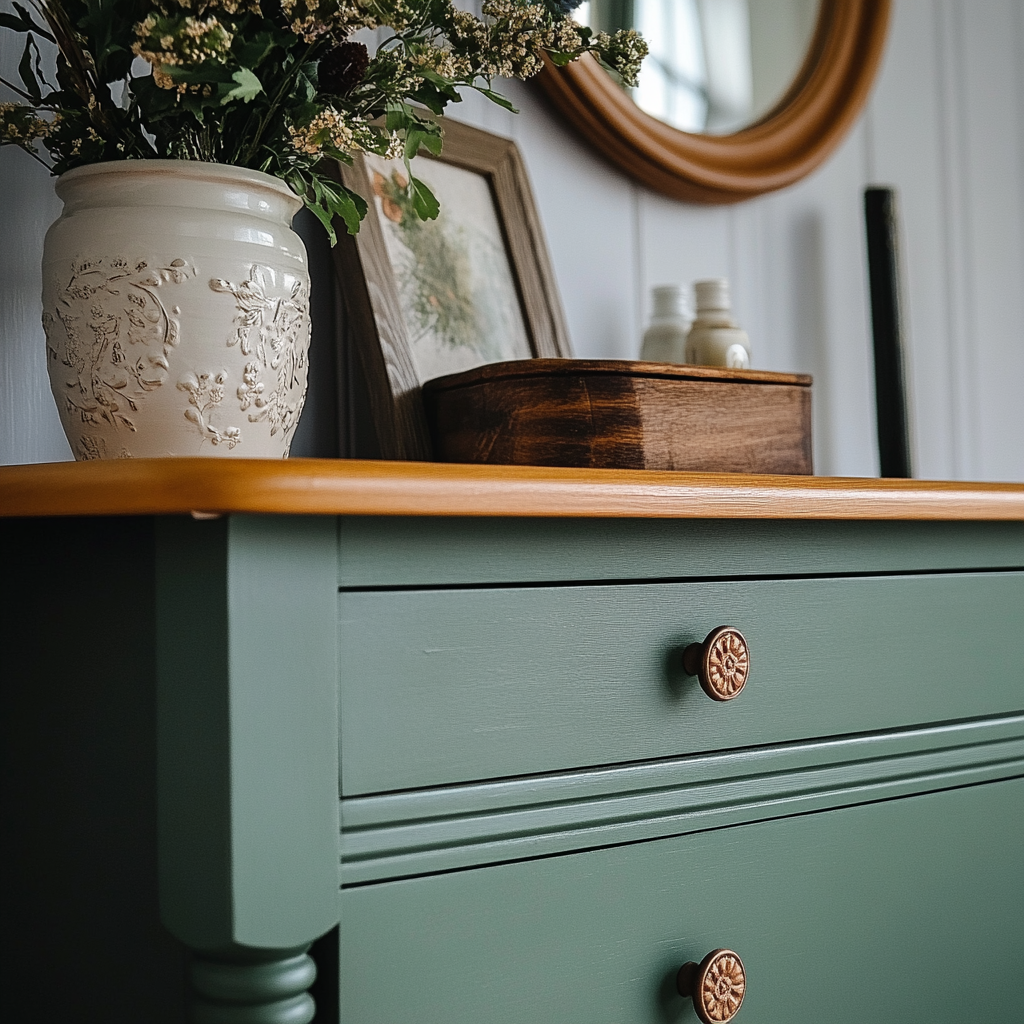
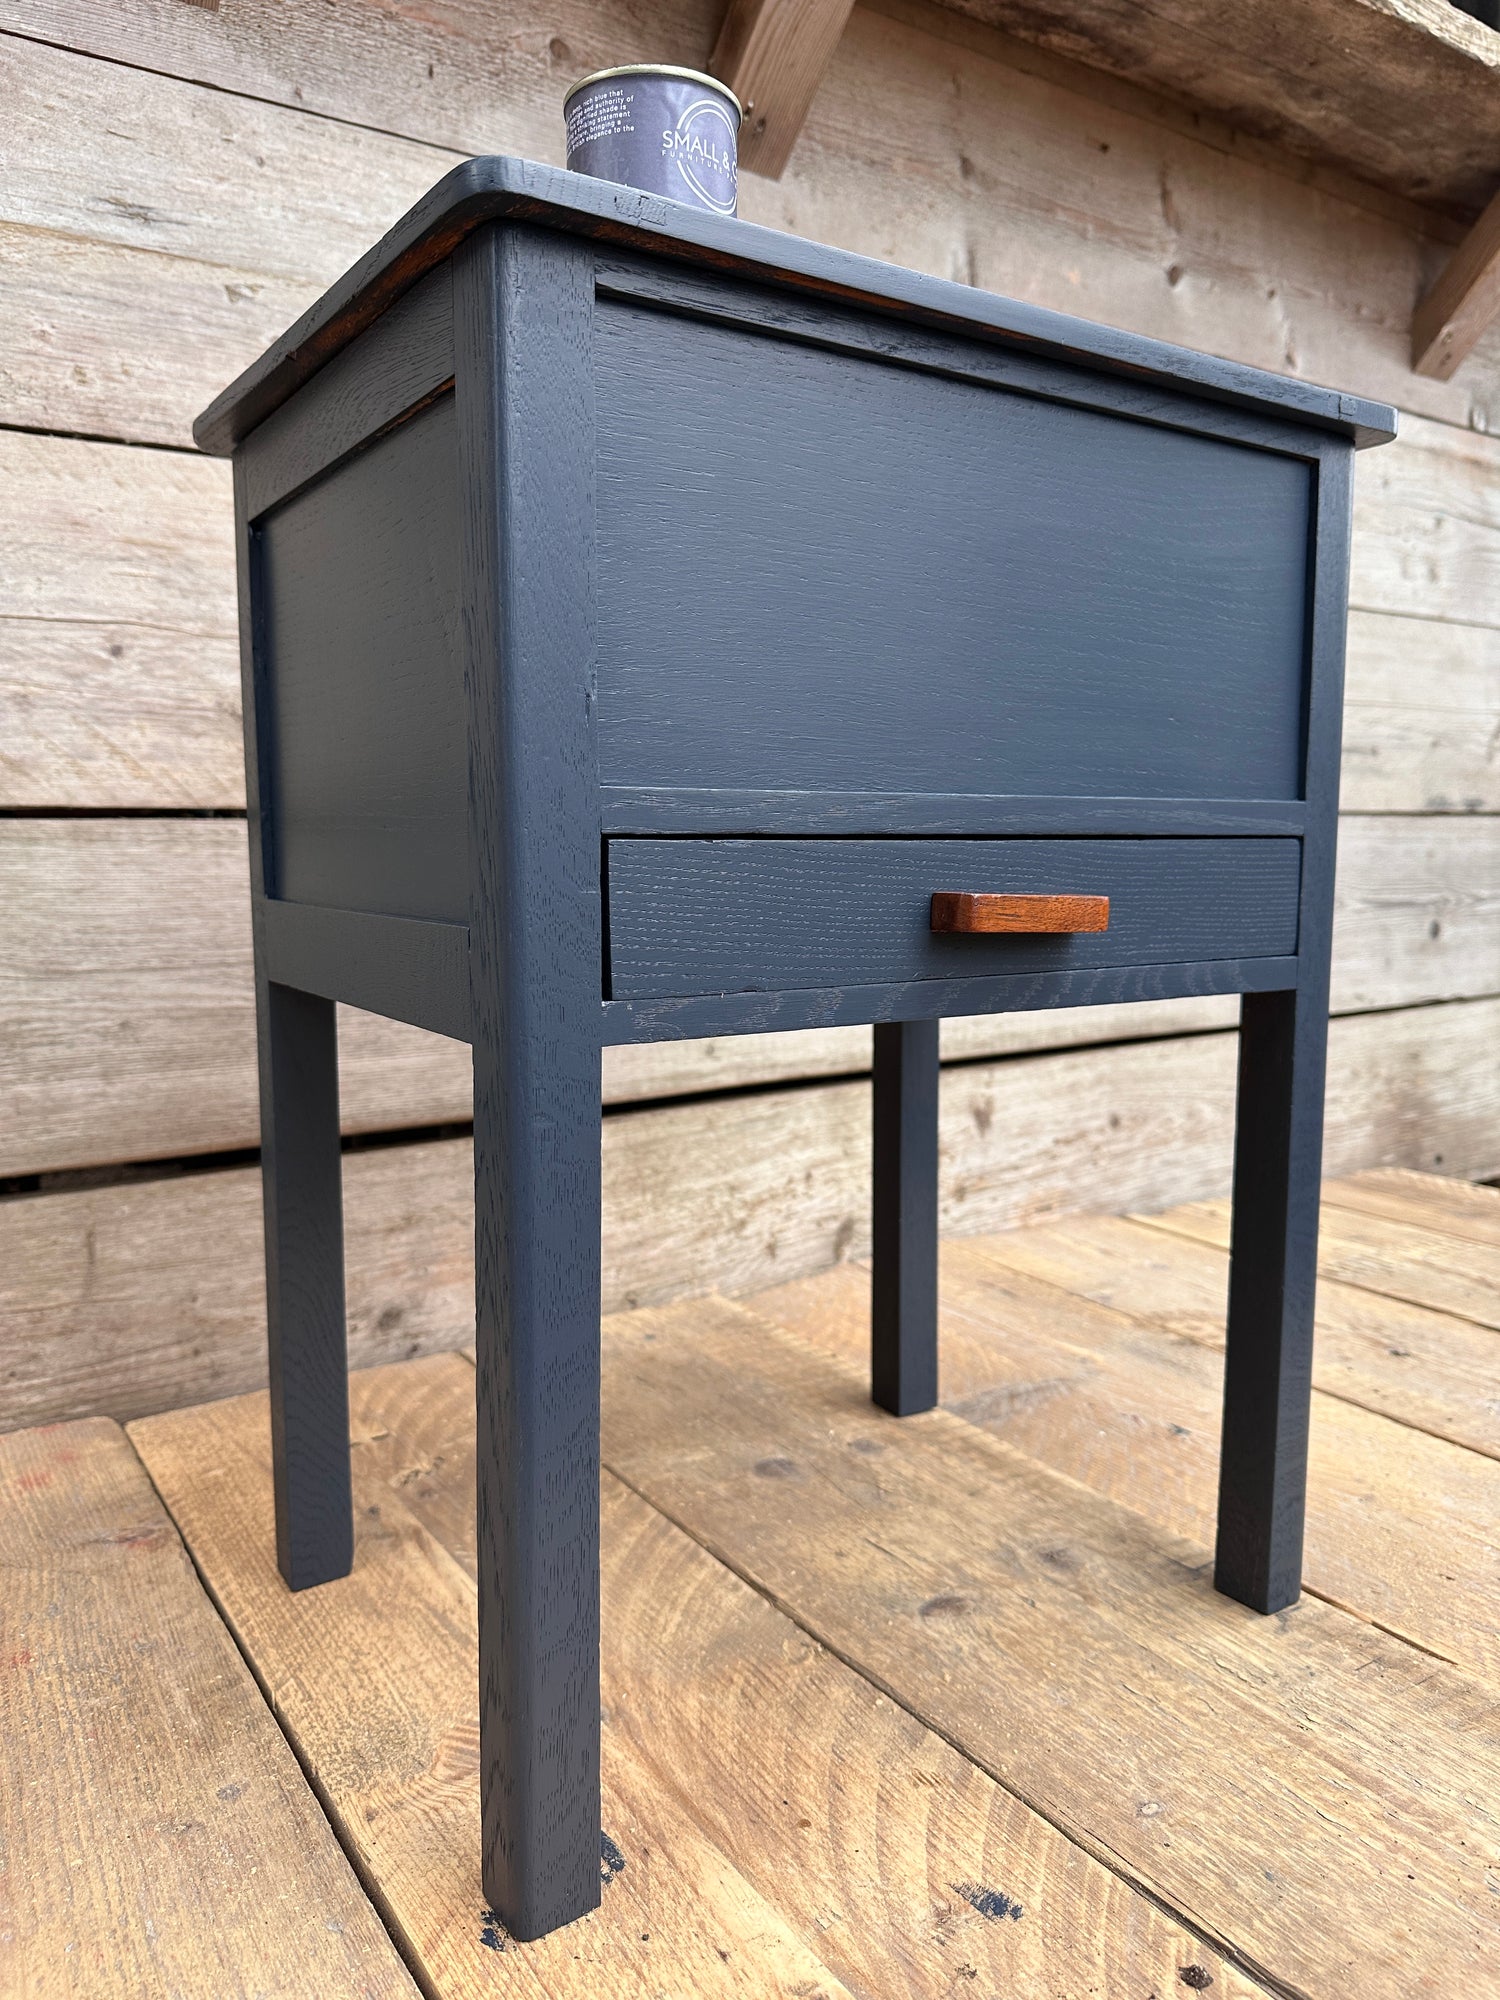
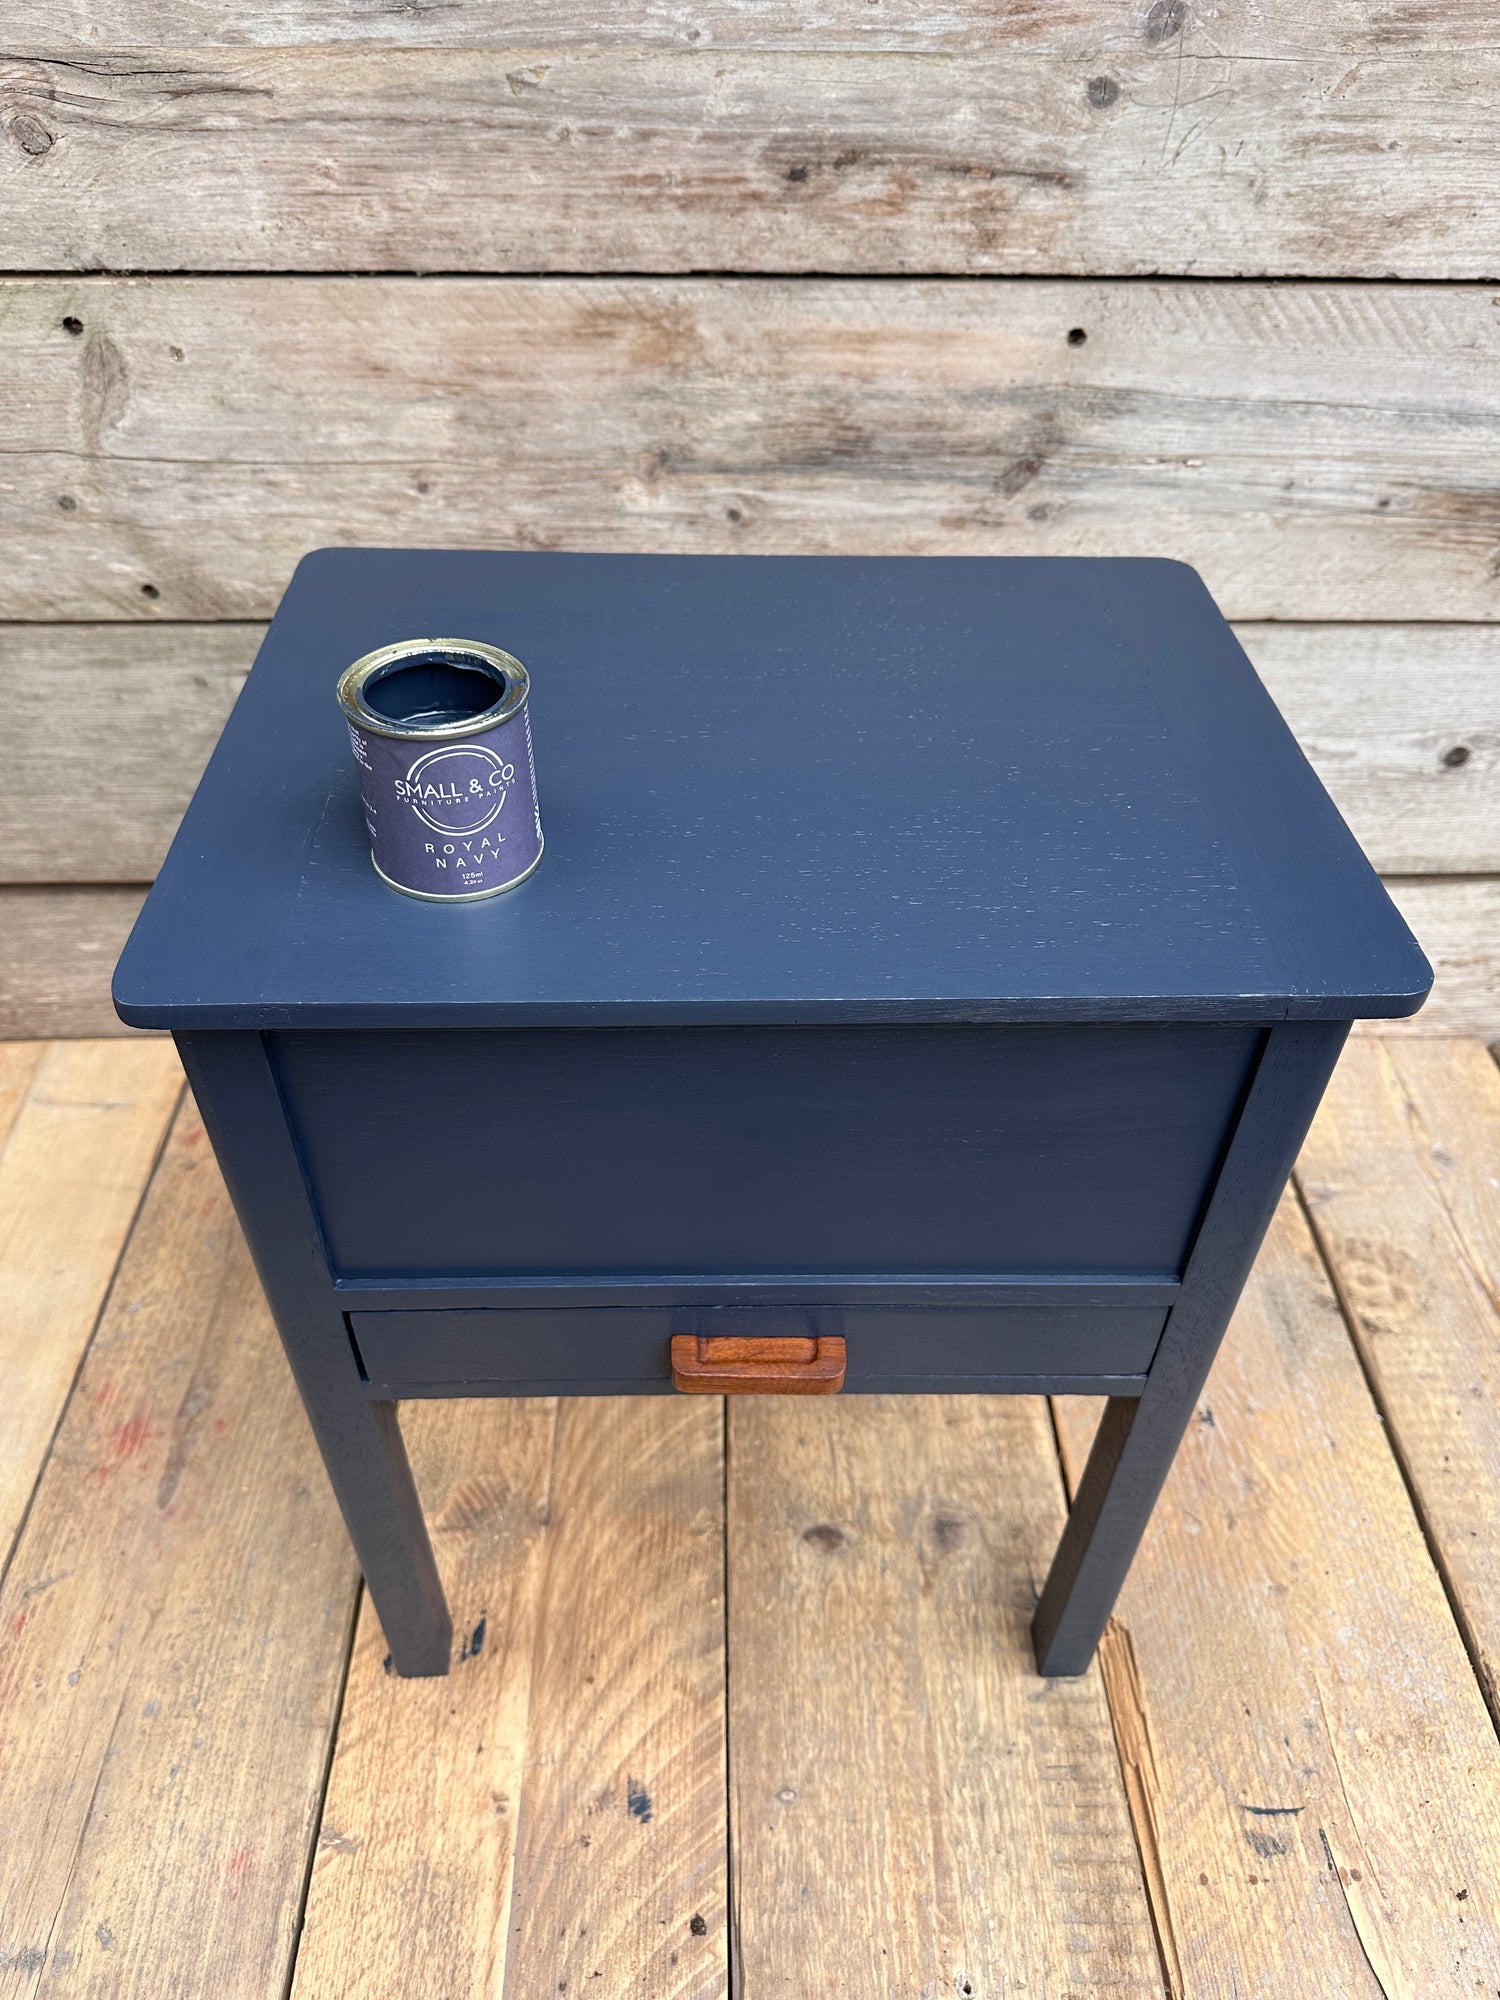
Transform Your Furniture with Confidence
Why Small & Co Furniture Paint?
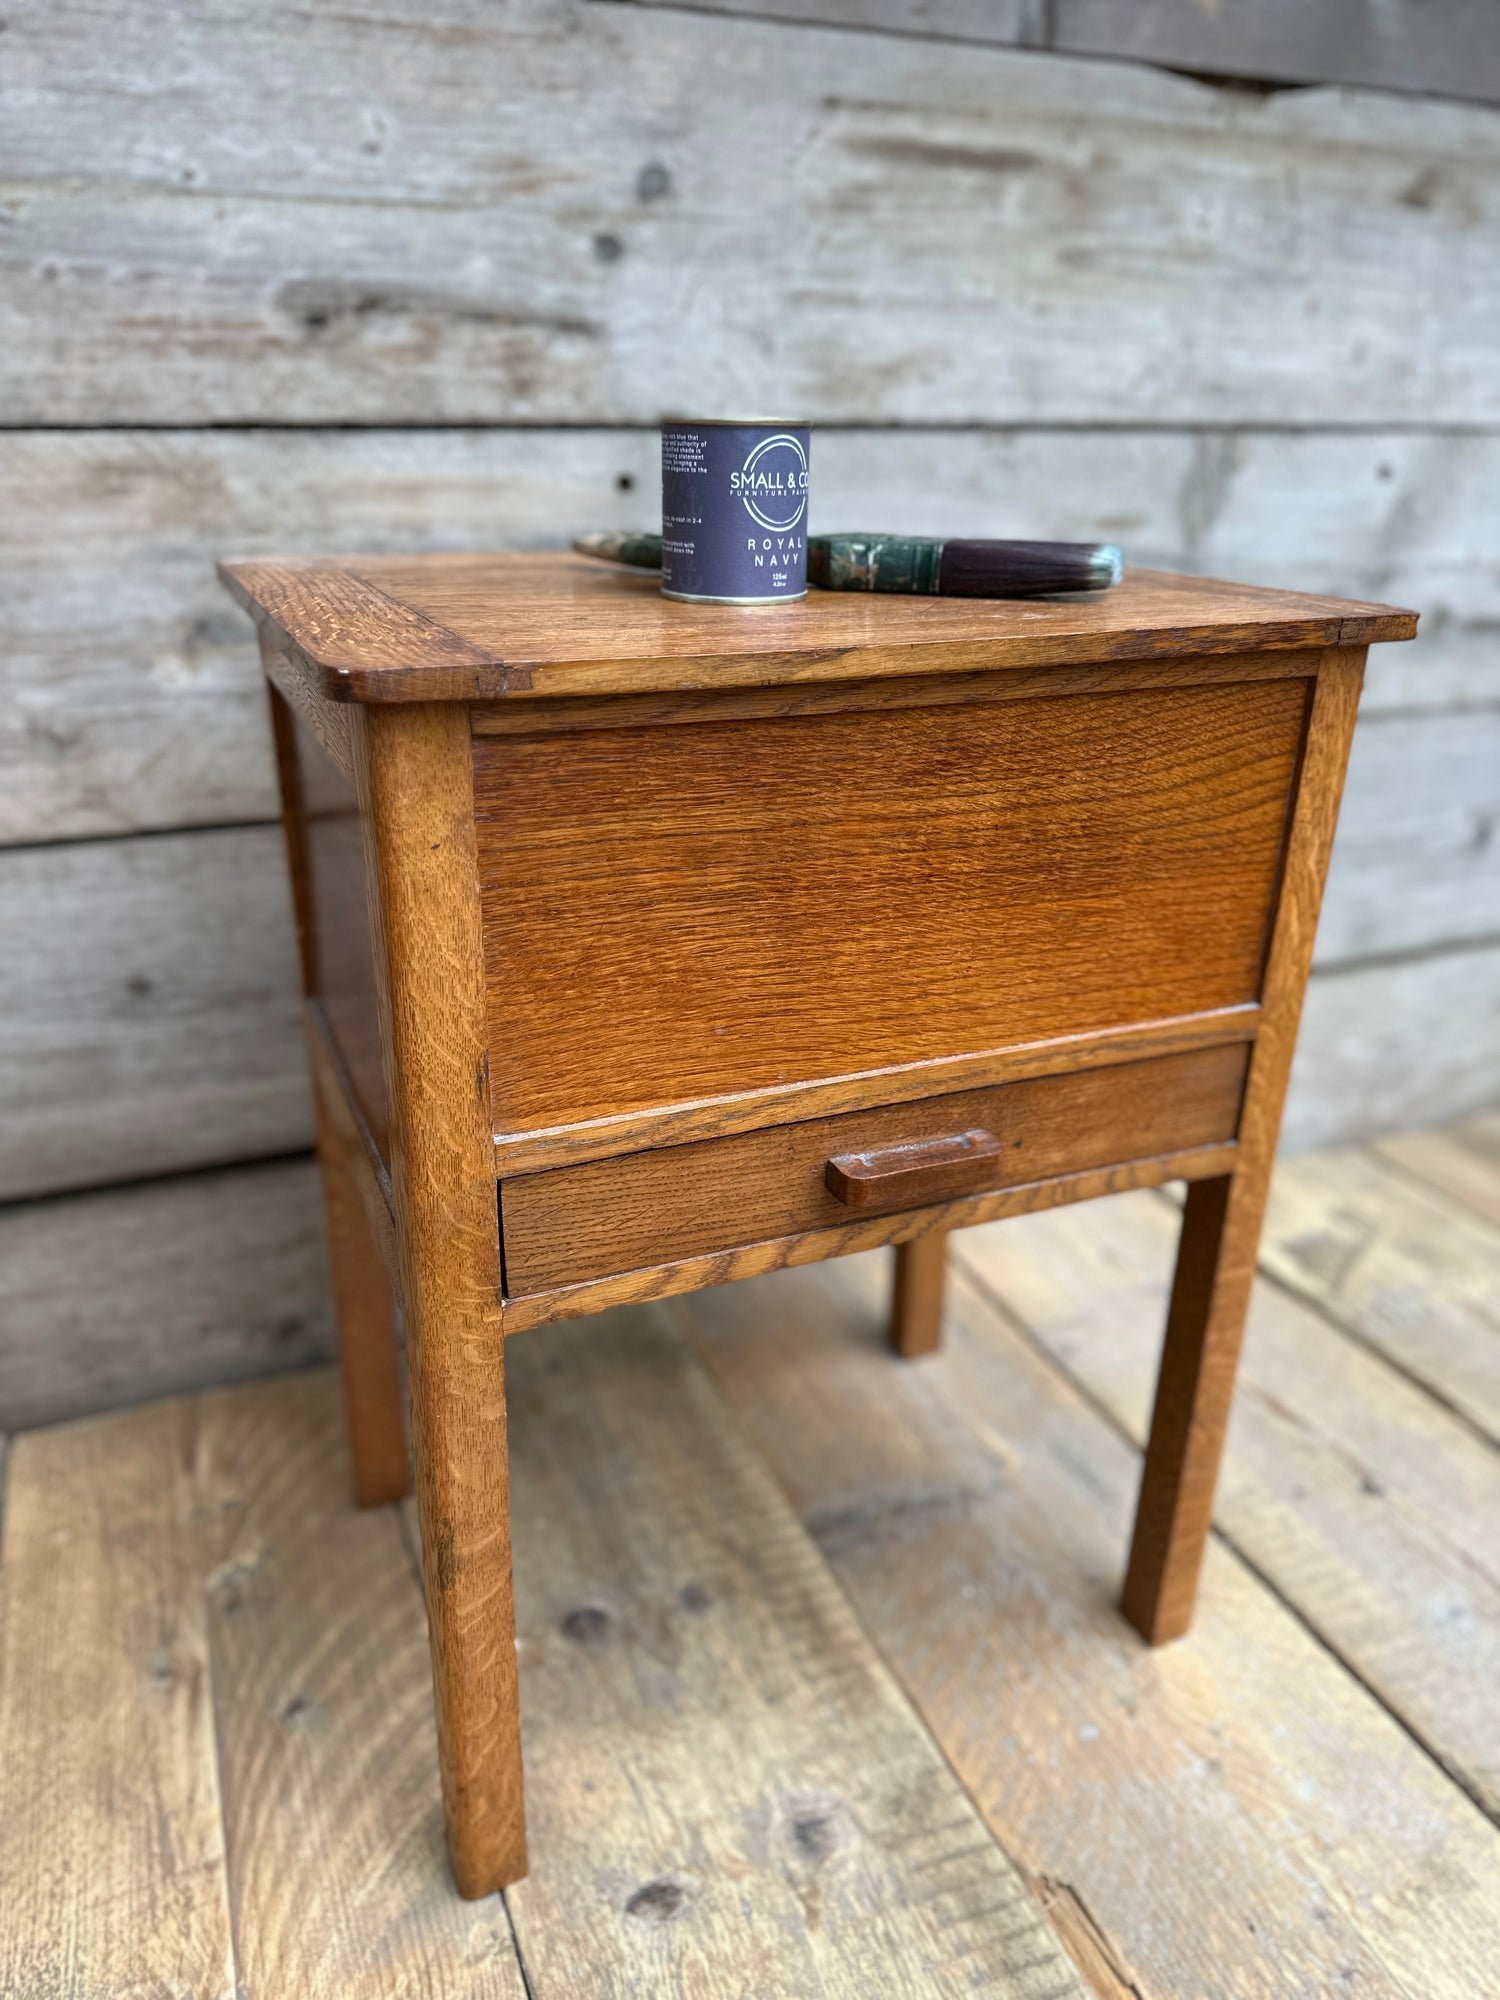
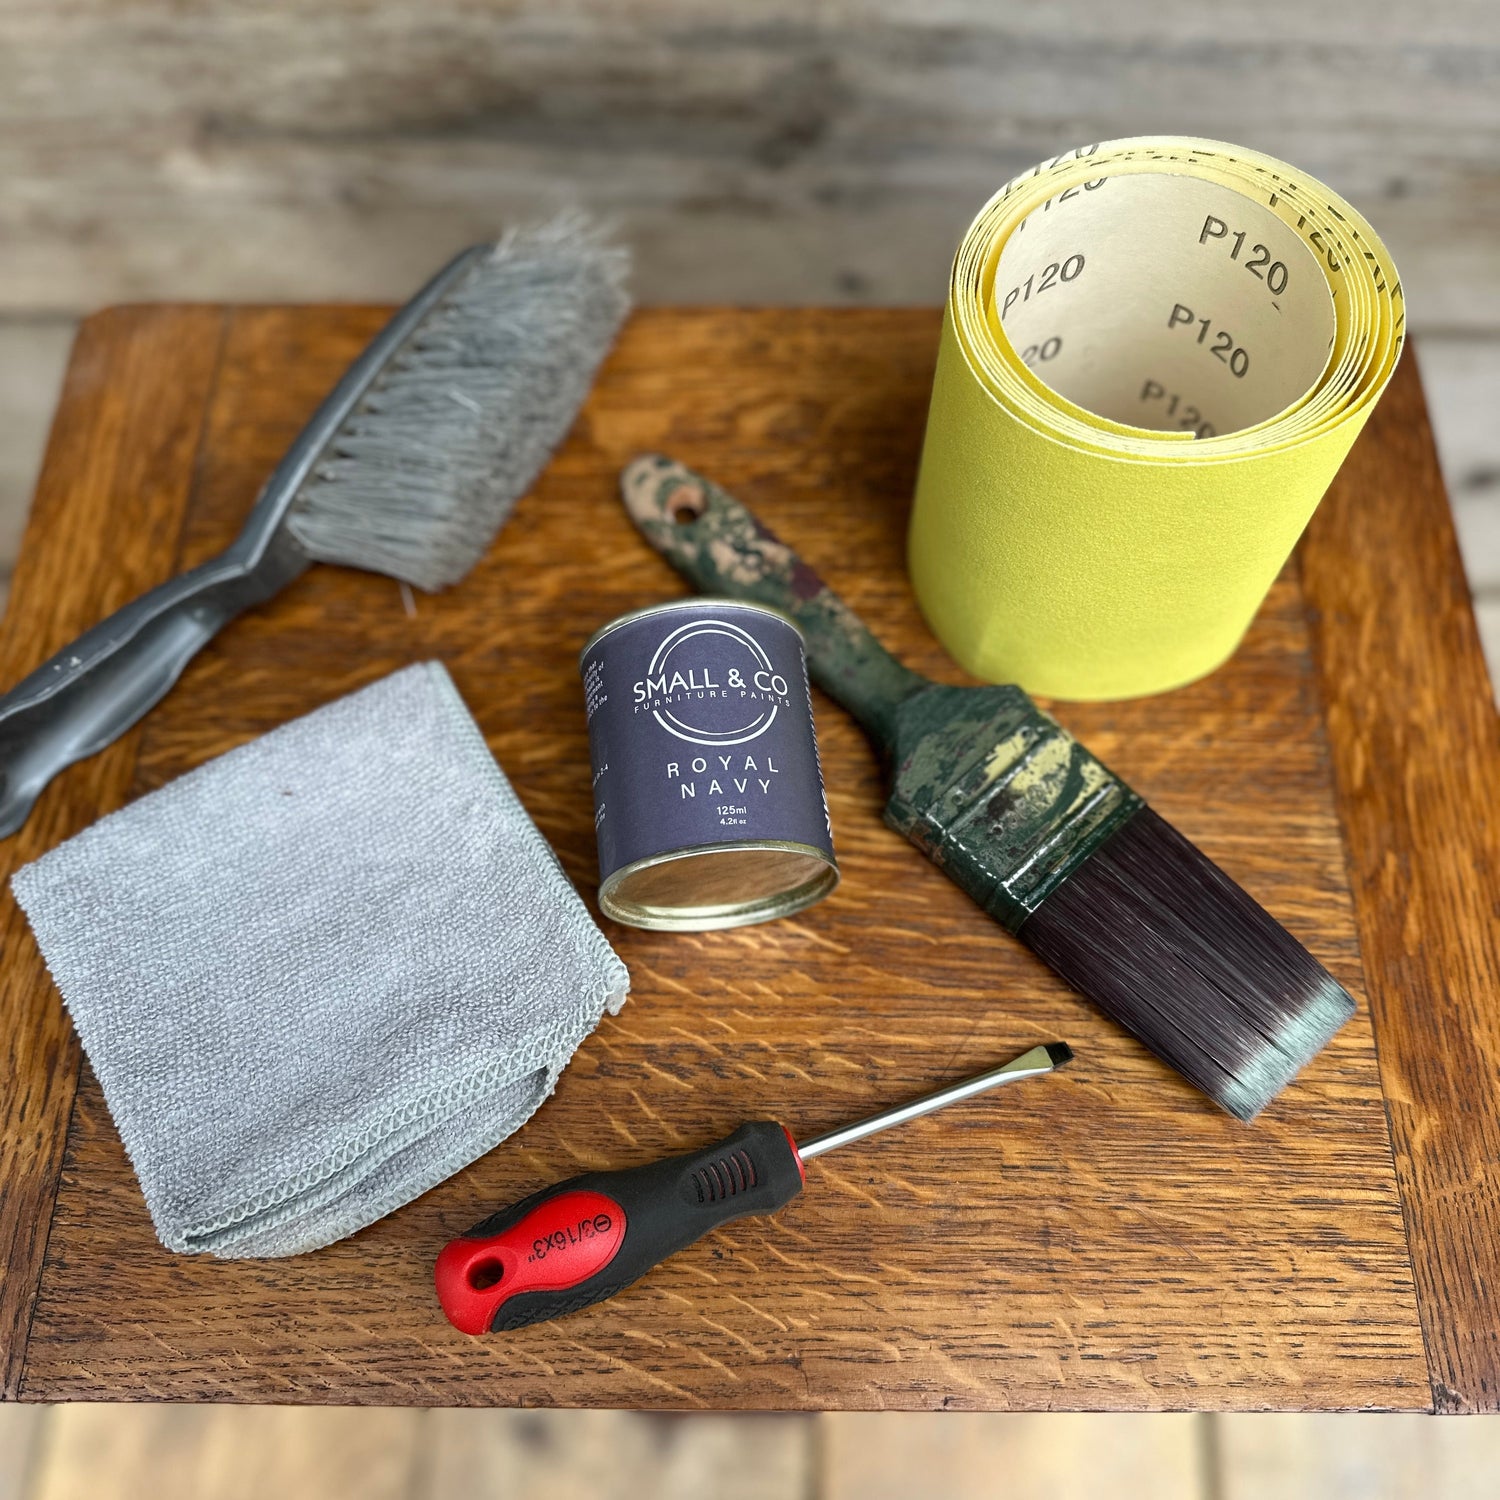
Step 1: Preparing Your Furniture for Painting
Preparation is key to achieving a smooth, long-lasting finish when painting furniture. Even though Small & Co paint is designed to adhere to most surfaces without sanding or priming, skipping the cleaning and preparation stage can still lead to poor adhesion, peeling, or uneven coverage.
Even if your furniture looks clean, there’s likely grease, dirt, and furniture polish residue that will interfere with the paint. Taking the time to prep correctly ensures that your finished piece is flawless, durable, and professional-looking.
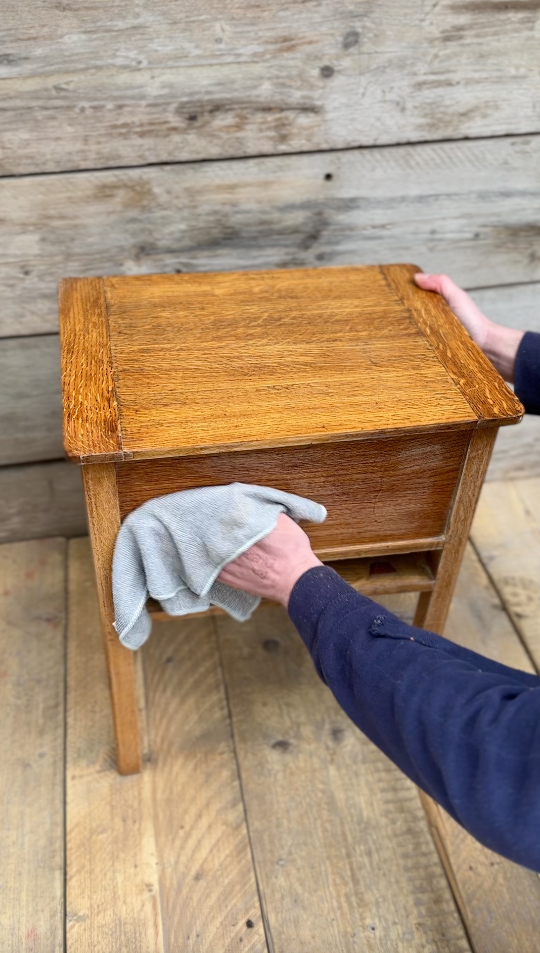
1.1 Cleaning the Surface
A properly cleaned surface is essential for good paint adhesion. It’s tempting to just give furniture a quick wipe, but everyday grime—like grease from hands, dust, or residue from polishes and sprays—can create an invisible barrier that prevents paint from sticking well.
To get the best results, you’ll want to use a degreaser before you sand or prime. A product like sugar soap or TSP (Trisodium Phosphate) works brilliantly to cut through the buildup.
How to Clean Furniture Before Painting:
🧼 Step 1: Pop on a pair of gloves and make sure you’re working in a well-ventilated area.
🧼 Step 2: Dampen a cloth or sponge with your chosen degreaser (premixed sugar soap or TSP solution both work well) and wipe over the entire surface—pay extra attention to handles, edges, and corners where grime loves to hide.
🧼 Step 3: Rinse off any residue with a clean, damp cloth.
🧼 Step 4: Let the piece dry completely before moving on to sanding or priming.
🚨 Note: If your furniture has been waxed, a degreaser won’t be enough. Use white spirit or a dedicated wax remover to strip back any old wax layers first—then follow up with your cleaning step.
🚨 Note: Never let TSP sit too long on the surface—wipe it off after a minute or two to prevent damage to delicate materials.
1.2 Checking for Damage & Making Repairs
Before painting, inspect your furniture carefully. If you paint over scratches, cracks, or peeling veneer, they won’t magically disappear—they’ll actually become more noticeable.
Filling Scratches & Holes
🛠 Step 1: Choose a good-quality wood filler—if painting with a light colour, opt for a white or light filler to prevent bleed-through.
🛠 Step 2: Apply the filler using a putty knife, pressing firmly to ensure it fills the damaged area completely.
🛠 Step 3: Slightly overfill the hole—wood filler shrinks as it dries.
🛠 Step 4: Let it dry fully (this can take 30 minutes to a few hours, depending on the depth).
🛠 Step 5: Once completely dry, sand it smooth using 240-grit sandpaper.
🚨 Pro Tip: If your filler dries with tiny air pockets, apply a second thin layer and sand again once dry for a seamless finish.
Fixing Loose or Peeling Veneer
🔹 If the veneer is lifting slightly, apply wood glue underneath, press it down, and clamp until dry.
🔹 If veneer is missing, fill the gap with wood filler, let it dry, and sand smooth.
By taking the time to repair imperfections before painting, you’ll ensure your final result is smooth and professional-looking.
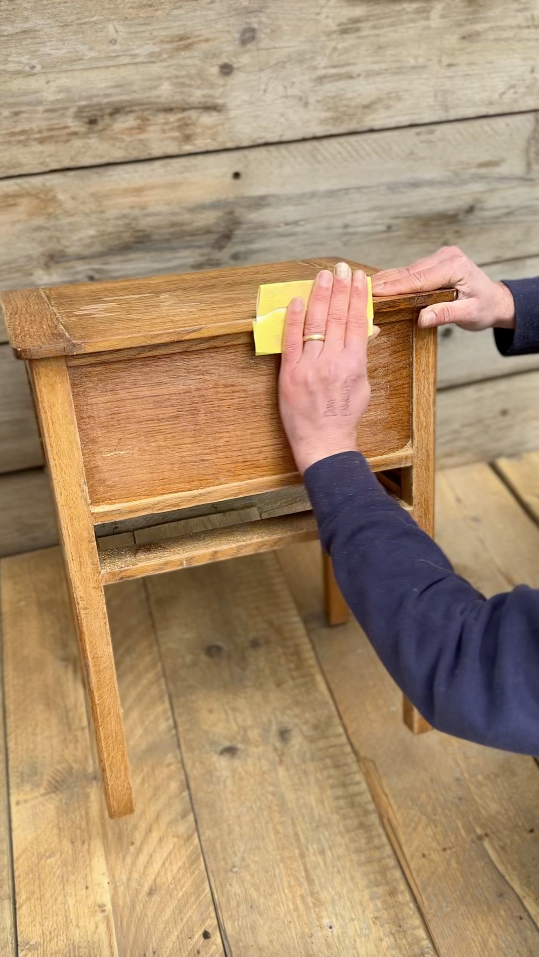
1.3 Do You Need to Sand?
One of the biggest myths about painting furniture is that you always need to sand everything down to bare wood.
🚫 With Small & Co paint, sanding is NOT required for most surfaces!
When You SHOULD Sand:
✔️ If the surface is high-gloss varnish or laminate (a light sanding helps the paint grip).
✔️ If the previous paint is peeling or chipping (you must remove loose paint first).
✔️ If there are visible imperfections that need smoothing.
When You DO NOT Need to Sand:
✔️ If the furniture has a matte or porous wood finish.
✔️ If painting over previously painted but stable, smooth surfaces.
✔️ If you’re using Small & Co furniture paint, which adheres well without sanding.
How to Sand (Only If Needed):
🔹 Use fine-grit (240-grit) sandpaper and lightly scuff the surface—you don’t need to remove the entire finish, just roughen it slightly.
🔹 Wipe off dust with a damp cloth before painting.
🚨 Avoid over-sanding! Over-sanding removes the protective seal on some furniture, making it absorb too much paint and creating an uneven finish.
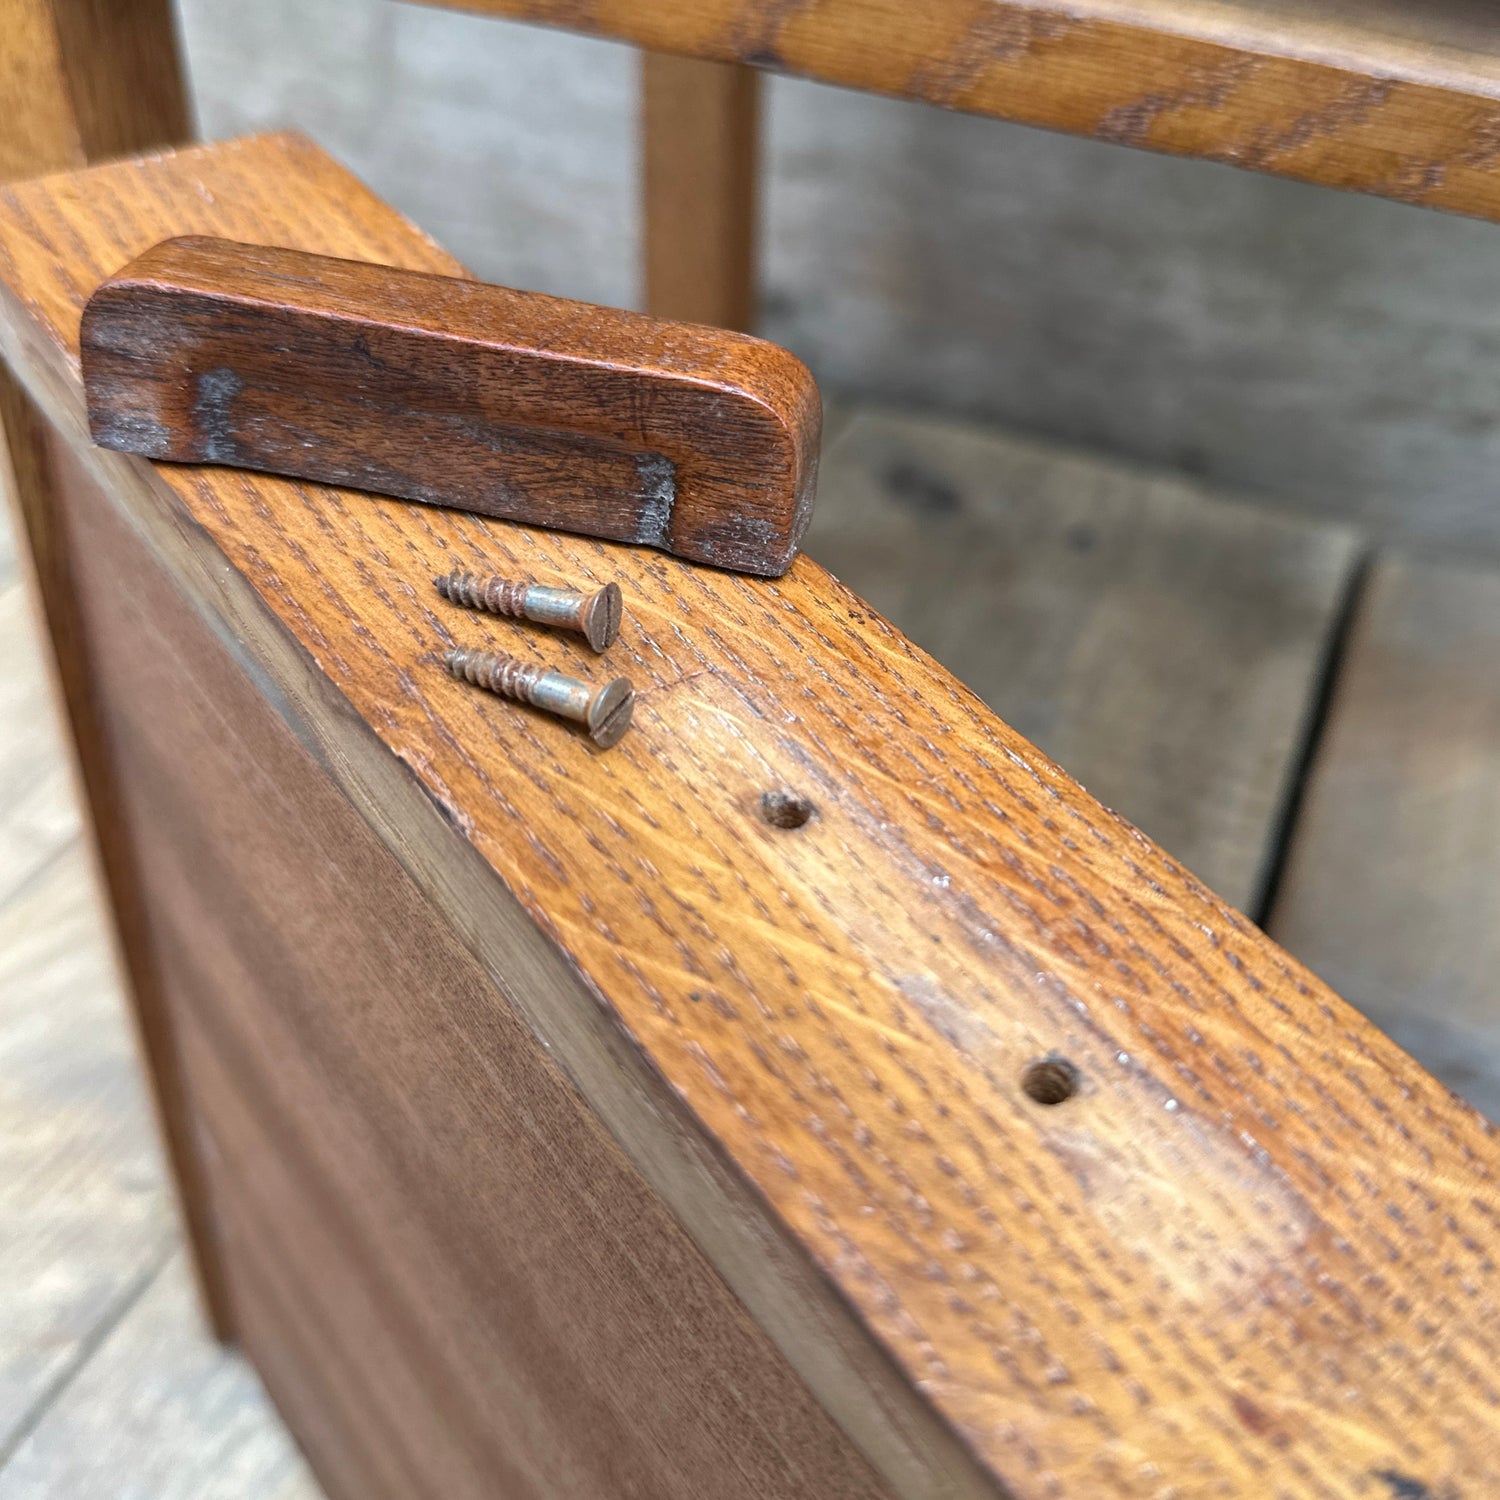
1.4 Preparing Drawers, Doors & Moving Parts
If you’re painting chests of drawers, wardrobes, or anything with doors, take extra care to ensure they don’t get stuck after painting.
✔️ Remove handles, knobs, and hinges before painting—this gives you a cleaner finish and avoids paint buildup around hardware.
✔️ If painting drawer edges or cupboard doors, sand the edges slightly to prevent sticking once the paint dries.
✔️ Use masking tape to cover areas you don’t want painted (like the inside of drawers or hinges).
Proper Prep = A Flawless Finish
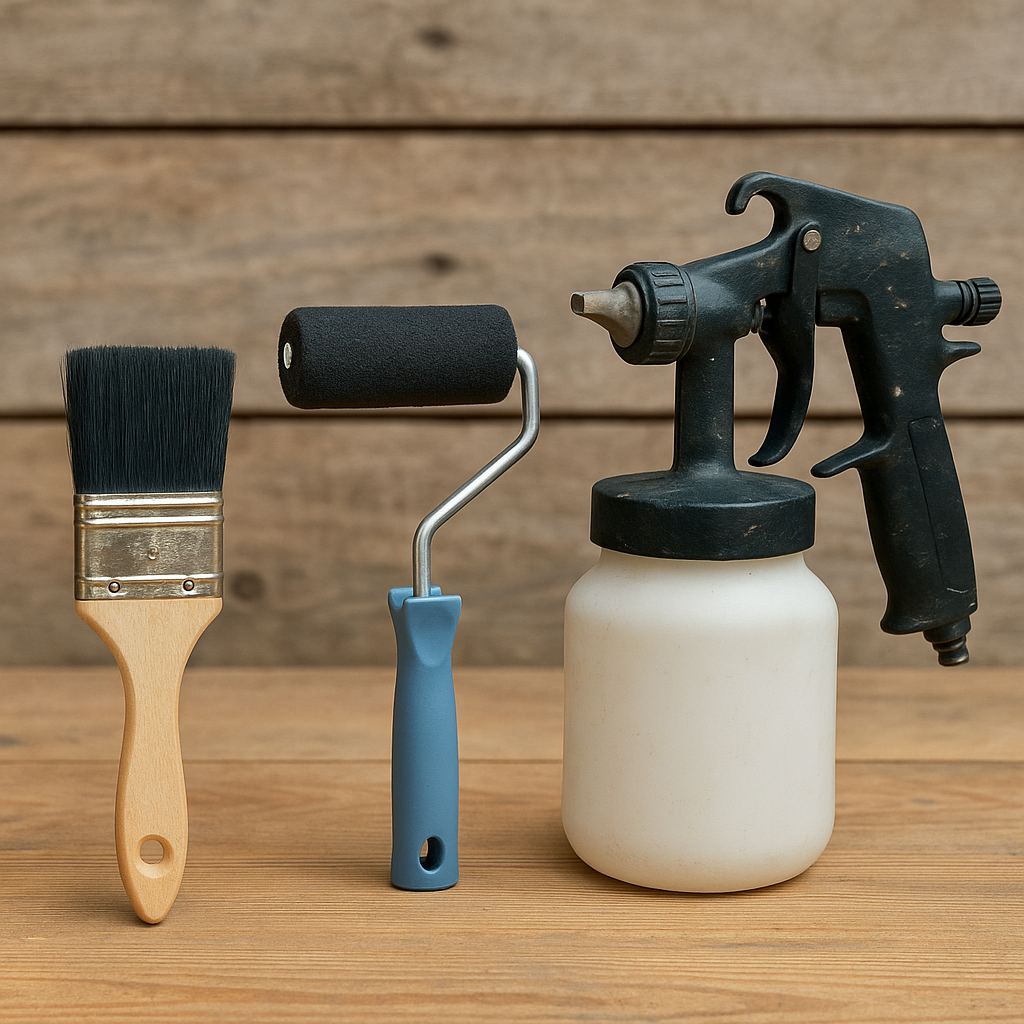
Step 2: Choosing the Best Painting Method
Now that your furniture is clean, prepped, and ready, it’s time for the fun part—painting! But before you dip your brush into the tin, you need to decide on the best application method.
There are three main ways to apply furniture paint:
✔️ Brushing – Great for detailed, carved furniture.
✔️ Rolling – Best for large, flat surfaces.
✔️ Spray gun – Ideal for an ultra-smooth, professional finish.
Each method has its own advantages, so let’s break them down to help you choose the right one for your project.
Which Method Should You Choose?
Step 3: Applying Paint for a Flawless Finish
Now that your furniture is clean, prepped, and you’ve chosen the best painting method, it’s time to start applying Small & Co’s premium water-based acrylic furniture paint. This step is where your piece truly comes to life, and how you apply the paint will determine the final look and durability of your furniture.
A common mistake beginners make is rushing the application or applying too much paint at once, which leads to streaks, drips, or uneven coverage. To get a smooth, professional finish, follow these expert steps for perfect application.
The Foundation of a Perfect Finish
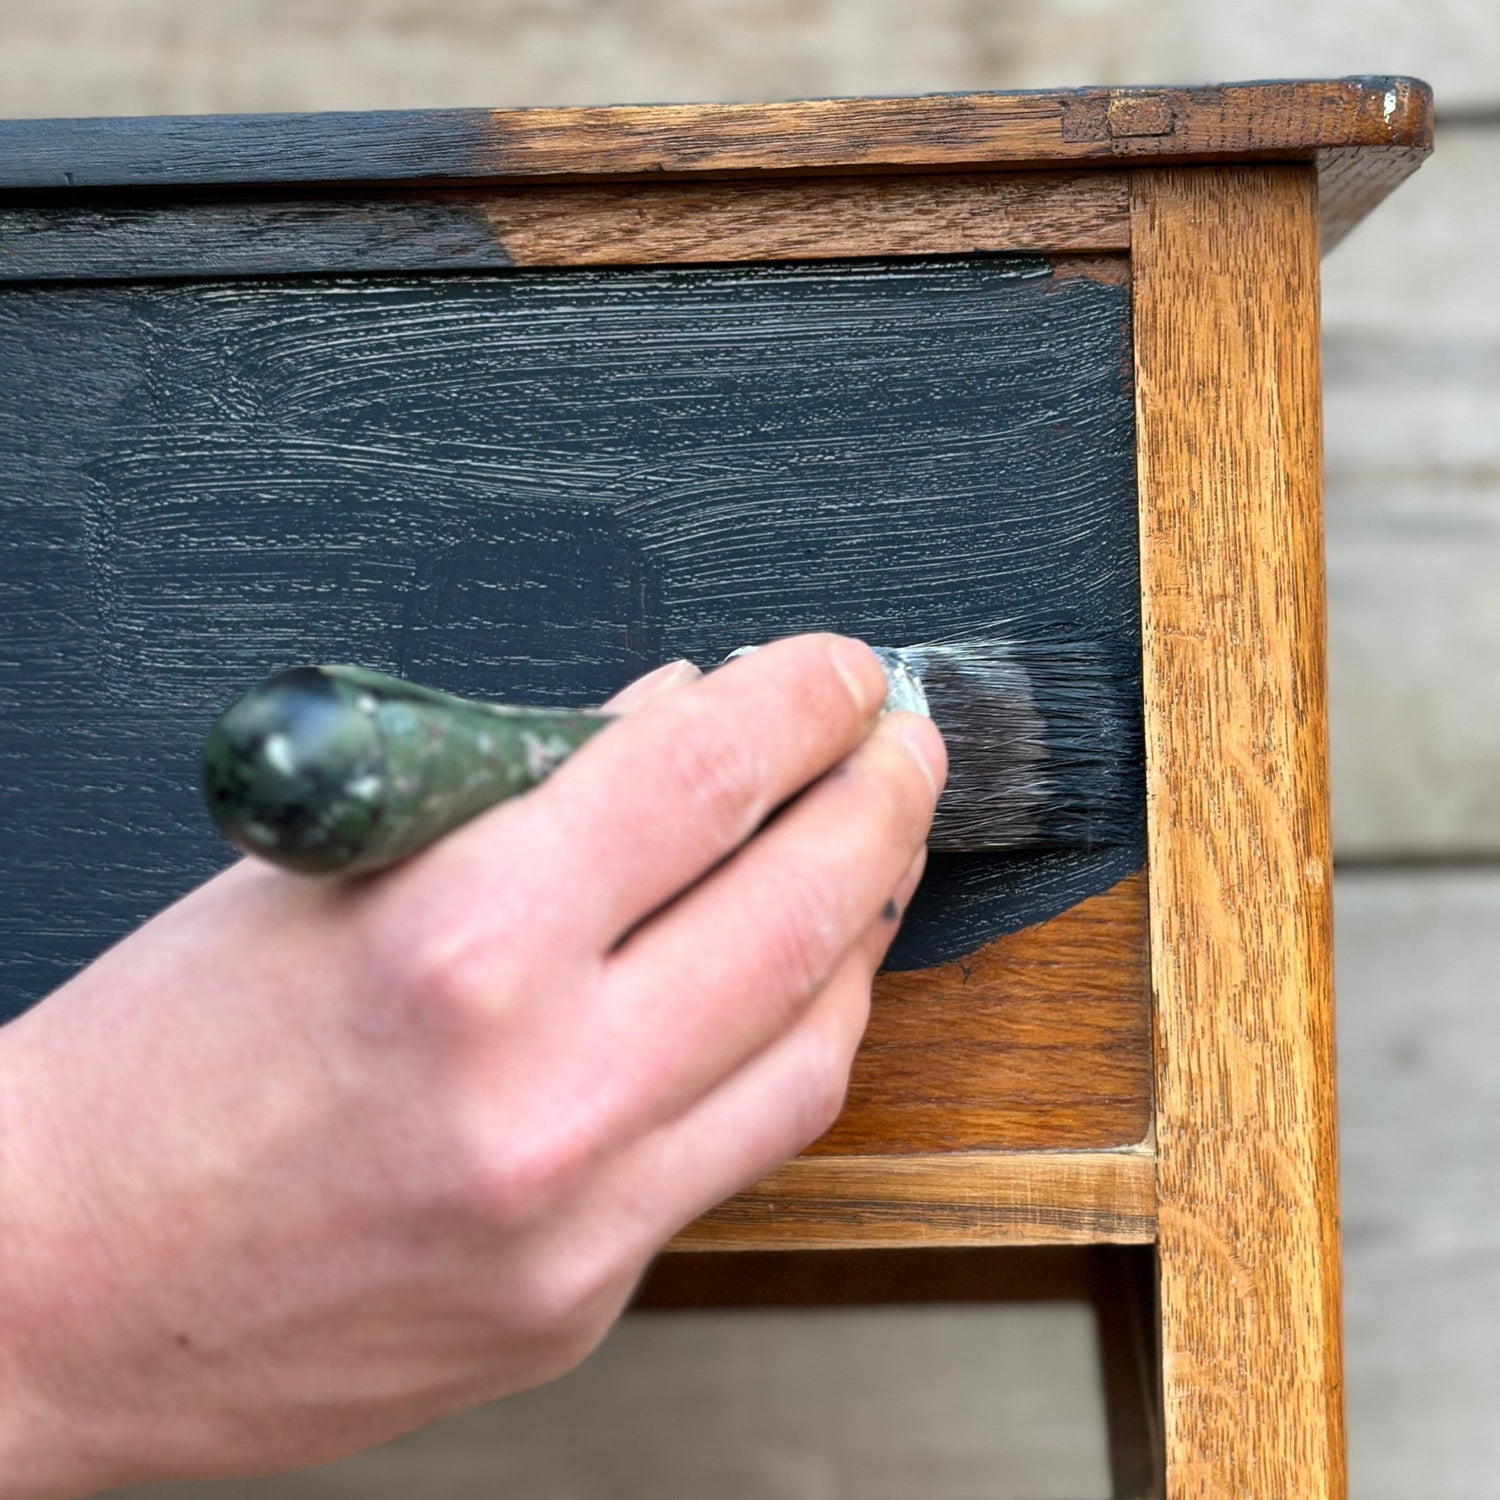
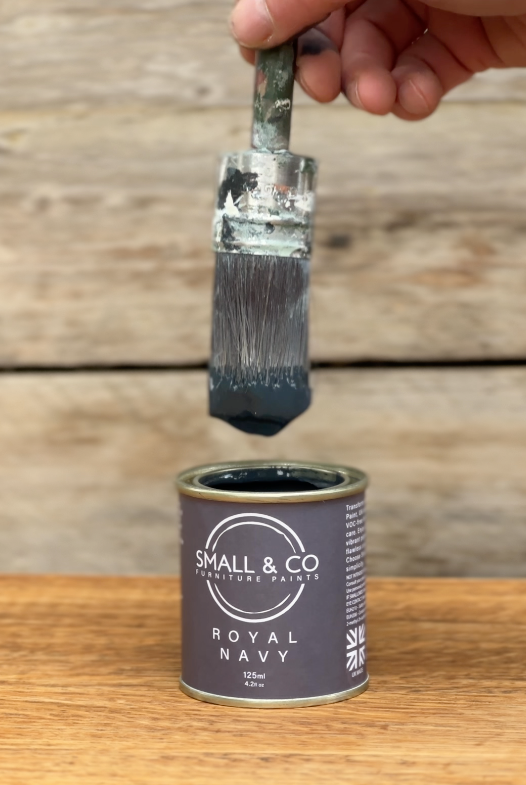
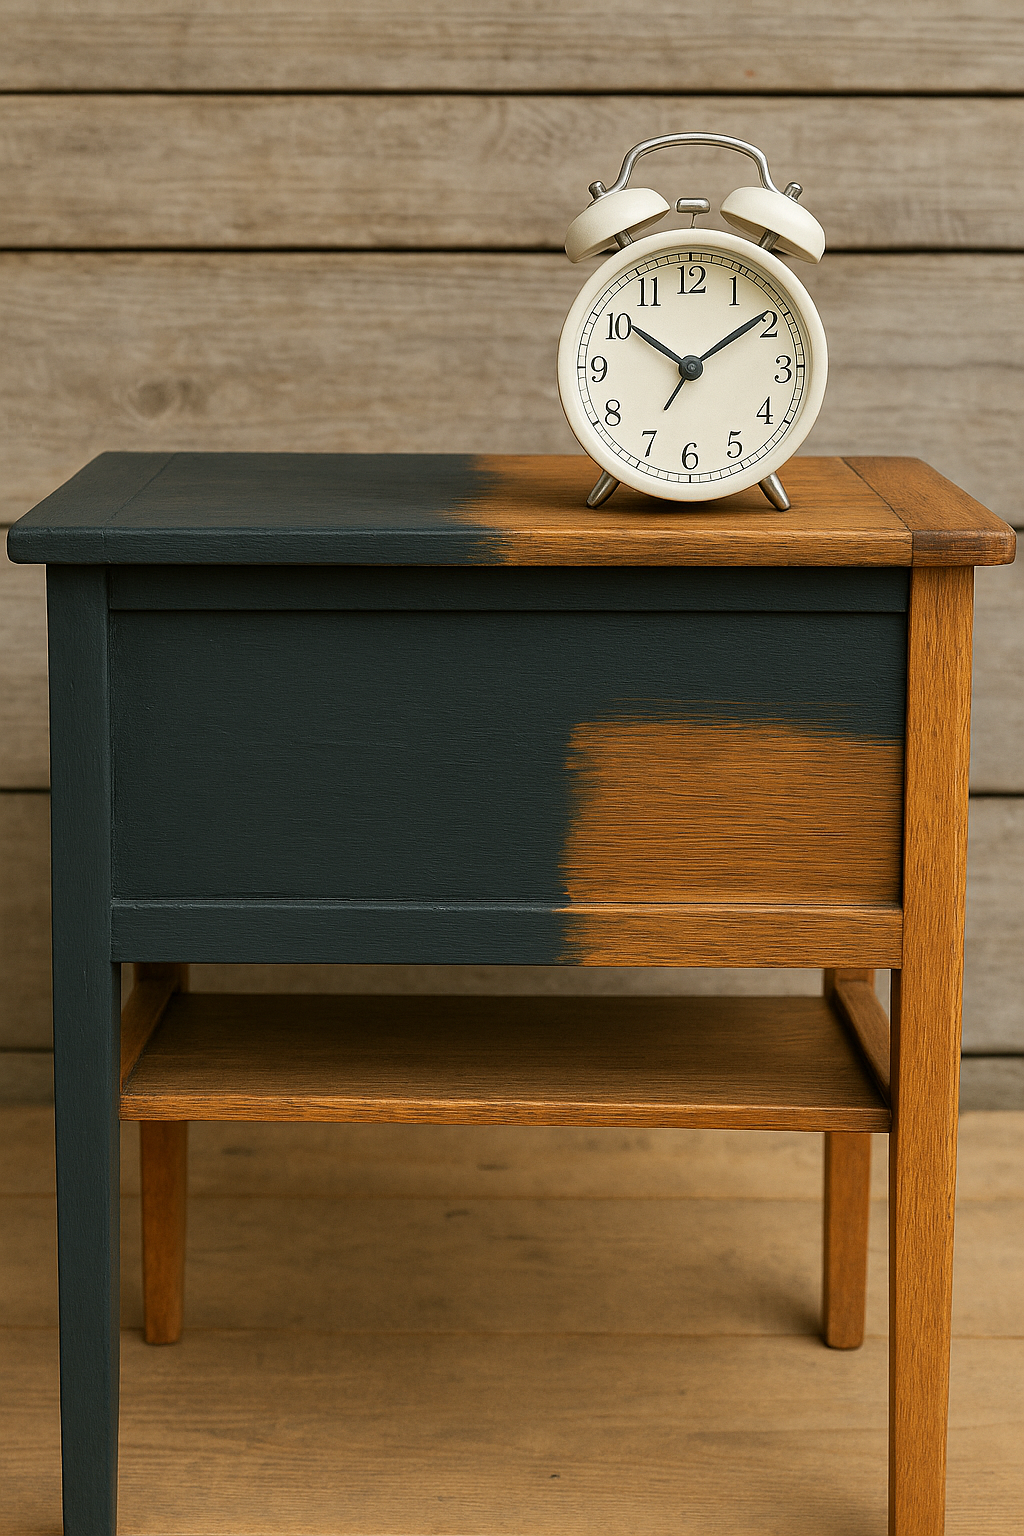
3.1 Applying the First Coat
The first coat is the most important, as it creates the base for your final result.
🛠 Step 1: Stir the paint thoroughly before use to ensure even colour distribution.
🛠 Step 2: Apply a thin, even coat—do not overload your brush or roller.
🛠 Step 3: Work in sections, applying paint in long, smooth strokes.
🛠 Step 4: Let the first coat dry completely before applying the second.
🚨 Why Thin Coats Are Better Than Thick Coats?
✔️ Thick coats take longer to dry and can result in drips or uneven coverage.
✔️ Thin coats dry faster and bond better, creating a stronger finish.
✔️ Small & Co paint has excellent opacity, so even a thin first coat will give good coverage.
Why It Matters
3.2 Drying Time Between Coats
Small & Co paint is fast-drying, but rushing the second coat before the first is fully dry can lead to streaks and texture issues.
How Long Should You Wait Between Coats?
- Touch-dry: 30 minutes.
- Ready for a second coat: 1-2 hours.
- Fully cured (hardened): 14 days.
🚨 Why Does Paint Need Time to Cure?
Dry paint = the surface is no longer wet, but it’s still soft.
Cured paint = the paint has fully hardened and bonded to the surface.
If you use or handle furniture before it’s cured, you risk leaving dents, scuffs, or imprints.
🚨 Pro Tip: In humid or cooler conditions, drying may take slightly longer, so always check by touching a hidden area before recoating.
Building Depth & Durability
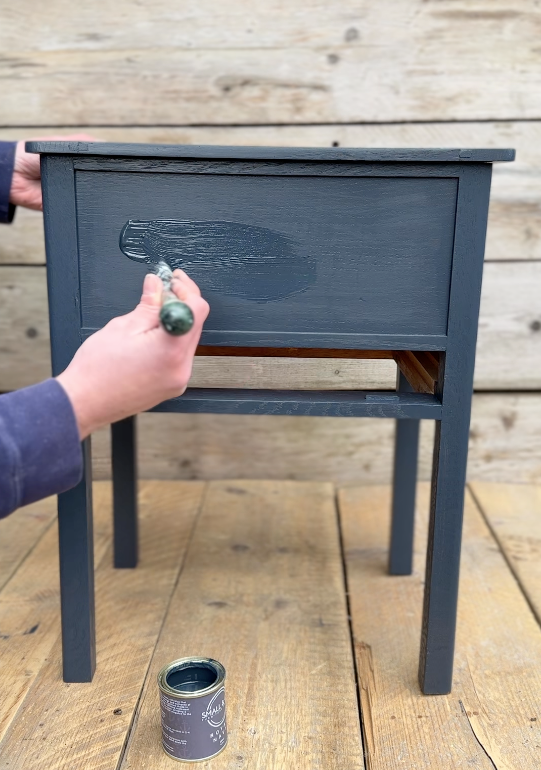
3.3 Applying the Second Coat
Once the first coat is fully dry, you can apply the second coat. This layer deepens the colour, enhances durability, and perfects the finish.
🛠 Step 1: Lightly check for imperfections—if any dust or tiny bumps are present, gently wipe with a damp cloth (do NOT sand).
🛠 Step 2: Apply the second coat exactly like the first—thin, even layers.
🛠 Step 3: Let the paint self-level and resist the urge to overwork it.
🚨 Why You Shouldn’t Overwork the Paint:
✔️ Going back over drying paint creates texture and streaks.
✔️ Small & Co’s self-levelling formula smooths itself out if left undisturbed.
🚨 Pro Tip: If you’re painting with a brush, make sure you always keep the brush on the surface and don’t lift it mid-stroke, as this creates drag marks.
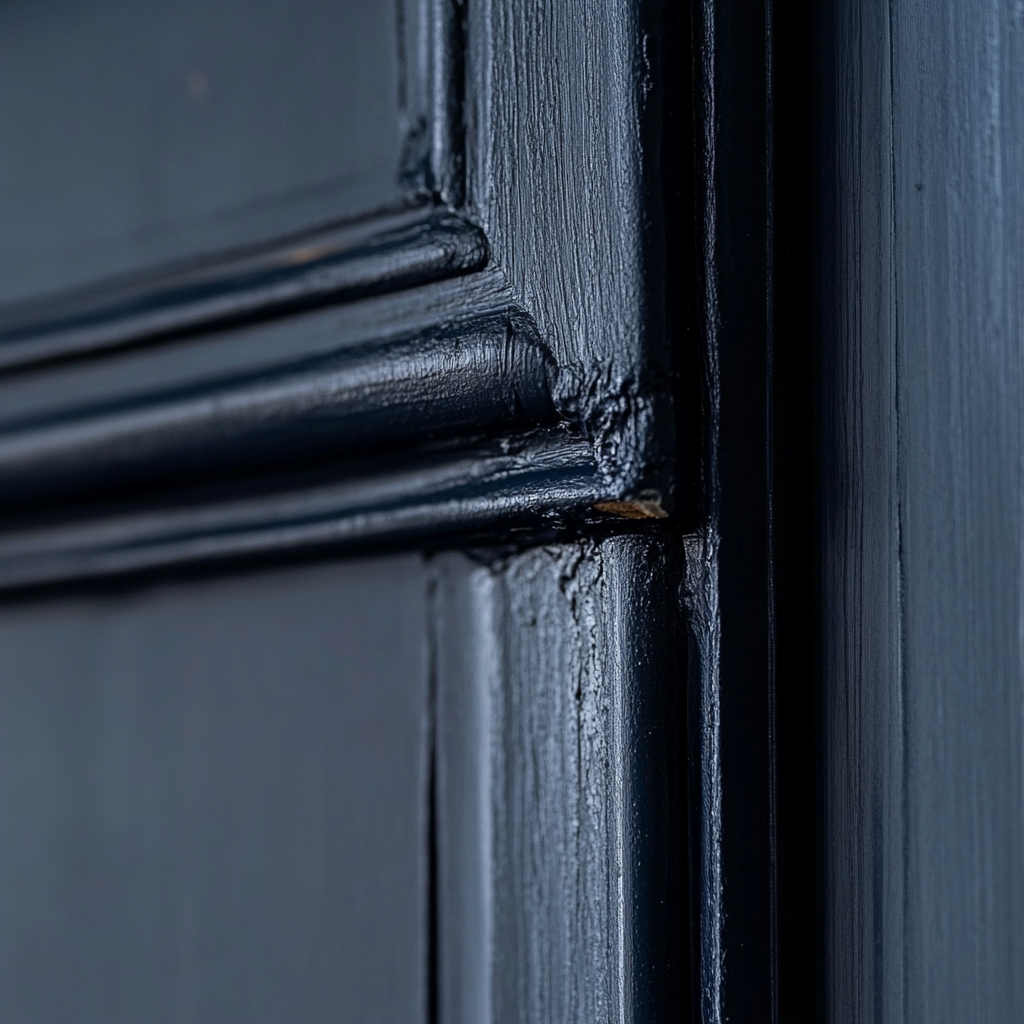
How to Avoid Common Painting Mistakes
3.4 Common Painting Mistakes
Even with great quality paint, small mistakes can happen. Here’s how to avoid the most common ones:
❌ Drips & Runs: If you apply too much paint, it can pool or drip.
✔️ Fix it: Wipe away drips immediately with a damp cloth or brush them out before they dry.
❌ Streaks or Brush Marks: Usually caused by overworking the paint or using a low-quality brush.
✔️ Fix it: Use long, even strokes and let the self-levelling formula do the work.
❌ Uneven Coverage: This happens if the paint is applied too thinly in some areas.
✔️ Fix it: Apply a consistent amount of paint and ensure full coverage in the second coat.
Patience = A Perfect Finish
Step 4: Drying, Curing & Protecting Your Painted Furniture
You’ve cleaned, prepped, and painted your furniture, and it’s looking amazing—but before you start using it, there’s one more crucial step: letting the paint dry and cure properly.
Many people assume that once the paint feels dry, the job is done. Not true! There’s a big difference between dry paint and cured paint, and understanding this can make or break the durability of your furniture finish.
In this section, we’ll cover:
✔️ The difference between drying and curing.
✔️ How long to wait before using painted furniture.
✔️ When (and if) you need a protective topcoat.
✔️ The best way to care for your painted furniture long-term.
What’s the Difference?
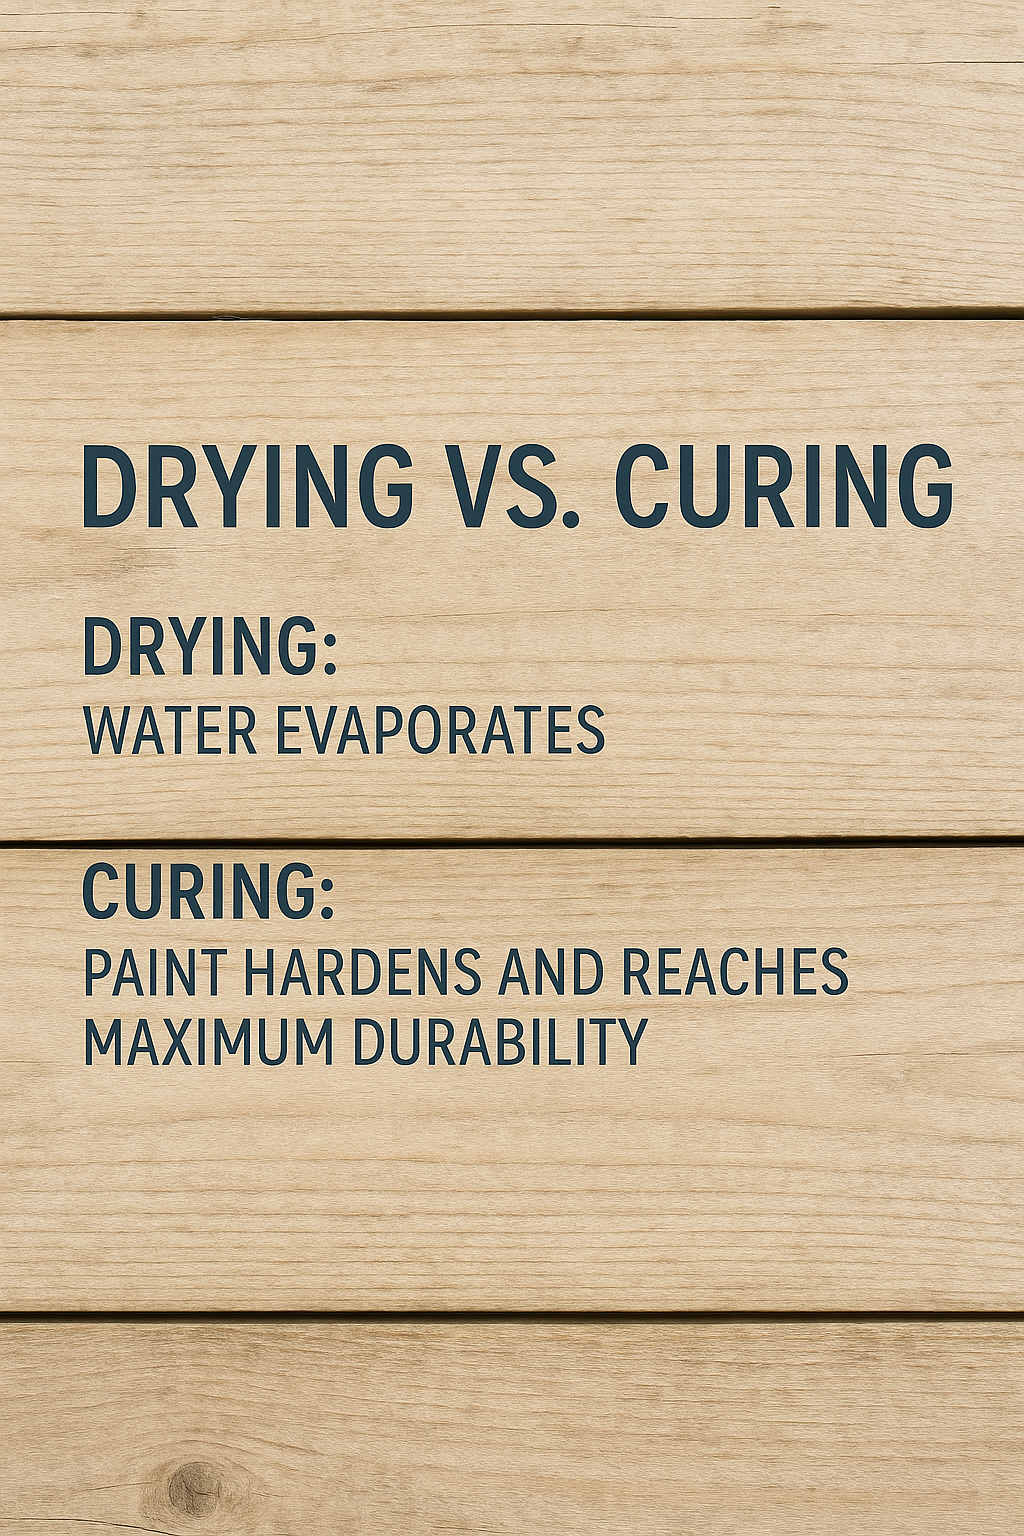
4.1 Drying vs. Curing
One of the biggest misconceptions about painting furniture is that once it’s dry to the touch, it’s ready to use.
🚨 Not true! While the surface may feel dry, the paint is still soft underneath.
Here’s what happens after you paint:
✔️ Drying: The water in the paint evaporates, and the surface no longer feels wet. This happens within 30 minutes to a few hours, depending on the room temperature and humidity.
✔️ Curing: The paint fully hardens as the remaining moisture evaporates and the paint bonds to the surface. This process takes 14 days, though it can take slightly longer in colder conditions.
🚨 If you start using furniture too soon, you risk damaging the paint before it has had a chance to fully harden.

4.2 How Long Should You Wait Before Using Painted Furniture?
- Touch-dry: 30 minutes.
- Ready for a second coat: 1-2 hours.
- Light use (placing décor or handling gently): 24-48 hours.
- Full cure (ready for everyday use): 14 days.
Why Does Curing Take So Long?
Paint dries from the outside in, meaning that while the surface may feel firm, the lower layers are still soft.
As the paint hardens, it becomes more resistant to scratches, dents, and moisture.
If you place heavy objects on uncured paint, it can leave imprints or marks.
🚨 Pro Tip: If you must use your furniture before the full curing period, place a soft cloth or placemat under any objects to avoid dents.
4.3 Do You Need a Protective Topcoat?
Small & Co furniture paint is designed to be durable on its own, but for high-traffic pieces, an extra layer of protection can extend the life of your finish.
When Should You Use a Topcoat?
✔️ Yes, if…
- You’re painting dining tables, kitchen cabinets, or desks (which get frequent use).
- The furniture will be exposed to moisture (e.g., bathroom vanities).
- You want a glossier or more matte effect than the standard finish.
✔️ No, if…
- The furniture is decorative and won’t experience heavy wear.
- You prefer the natural, soft finish of the paint.
- The piece is already durable enough for its intended use.
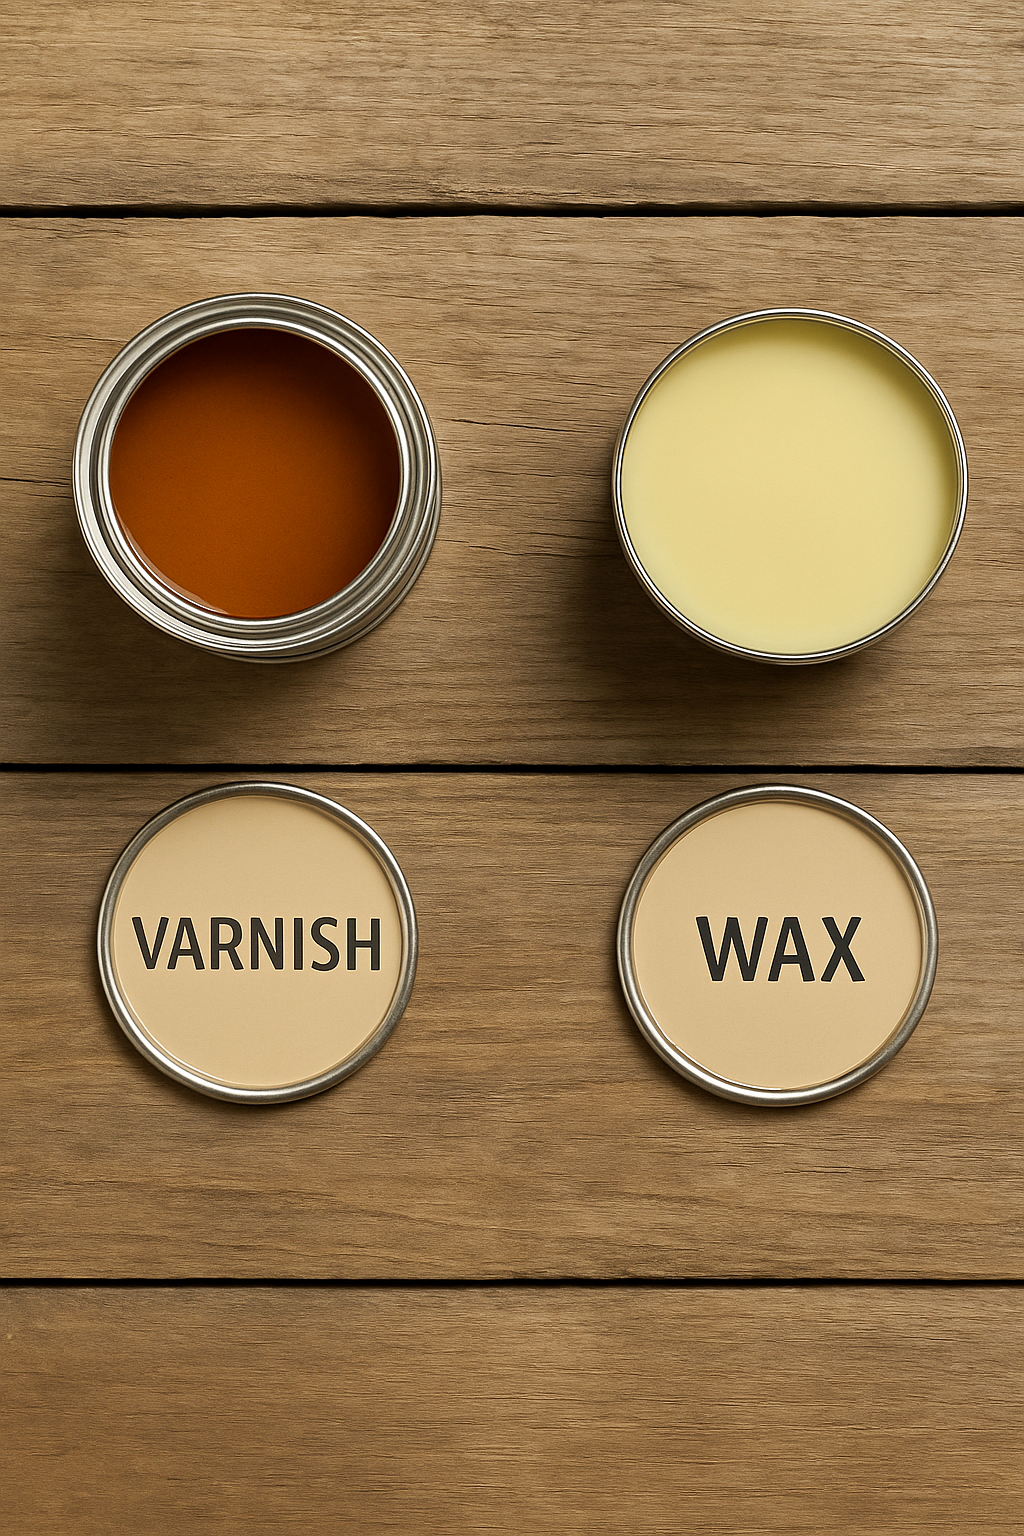
4.4 Choosing the Right Protective Finish
If you decide to use a topcoat, here’s what to consider:
✔️ Varnish – The strongest option for protecting furniture from spills, stains, and wear. Best for dining tables and worktops.
✔️ Wax – Provides a subtle sheen and light protection but isn’t as durable as varnish. Great for decorative furniture.
🚨 Important: Always test topcoats on a hidden area first, as they can slightly change the depth of the paint colour.